
1. Basic Principles
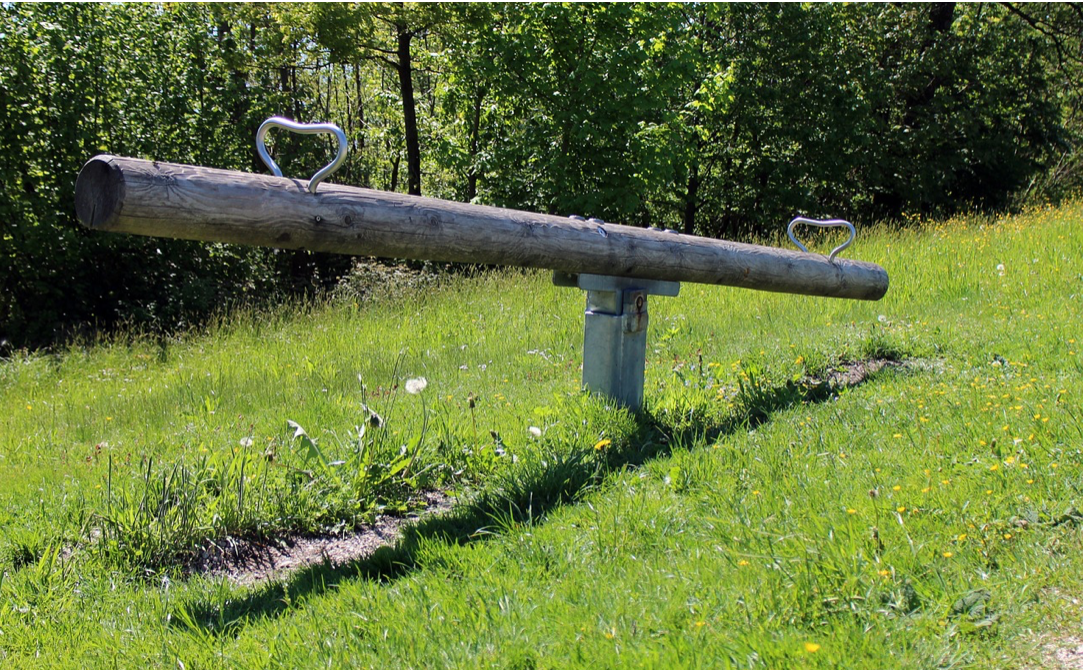
- 1. The Tilt Effect (Principle of the Lever)
Any element or lever pivoting around an axis produces a reverse movement on either side of that pivot point. Lowering one end mechanically causes the opposite end to rise.
- 2. Action of the Adjustment Screws
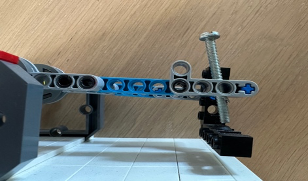
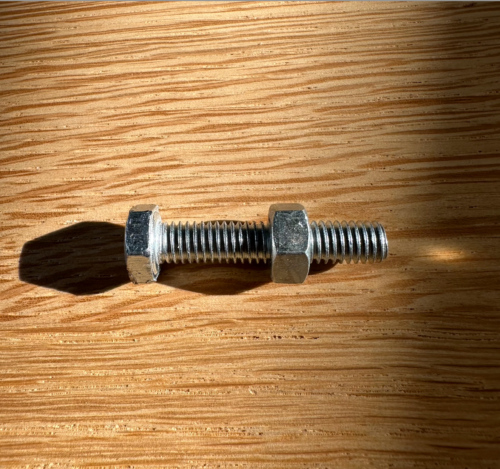
Turning an adjustment screw directly changes the position of the key:- Clockwise rotation (tightening): Raises the key on its side of the axis and lowers the opposite end.
- Counterclockwise rotation (loosening): Opposite effect.
- 3. Fixing a Leak (Lack of Tightness)
An air leak means there is still a gap between the pad and the oboe’s bore. The pad must be lowered to restore contact with the wood.- Applying the lever: To lower the pad, lift the key on the side opposite the axis.
- Action: Increase the effective length of the dedicated adjustment screw (tightening).
2. Methodology and Golden Rules of Adjustment
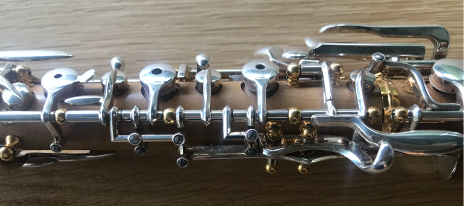
- 4. Identification
Before performing any adjustment, clearly identify the screw responsible for adjusting the target key. - 5. The Golden Rule of Priority
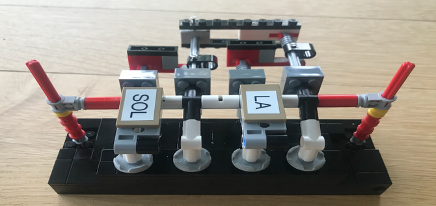
The primary keys (A, G, F#, E, D) take priority and always take precedence over the secondary keys they drive.
- 6. Handling Multiple Affects
When one key affects several others (e.g., the G lever during an F#), follow the order of priority by adjusting the farthest key last.
- Example of execution order:
- G leg
- Tip between G and A
- Tip between A and B (last)
- Remember to temporarily disable the G-leg/A-tip pairing to avoid hierarchy conflicts during adjustment.
- The same applies between E and the F resonance.
- 7. Precision of Movement (Micro-adjustment)
Visualize the rotation of the screwdriver as a watch face. Corrections are measured and controlled with precision, in minutes (e.g., a rotation of “5 minutes”).
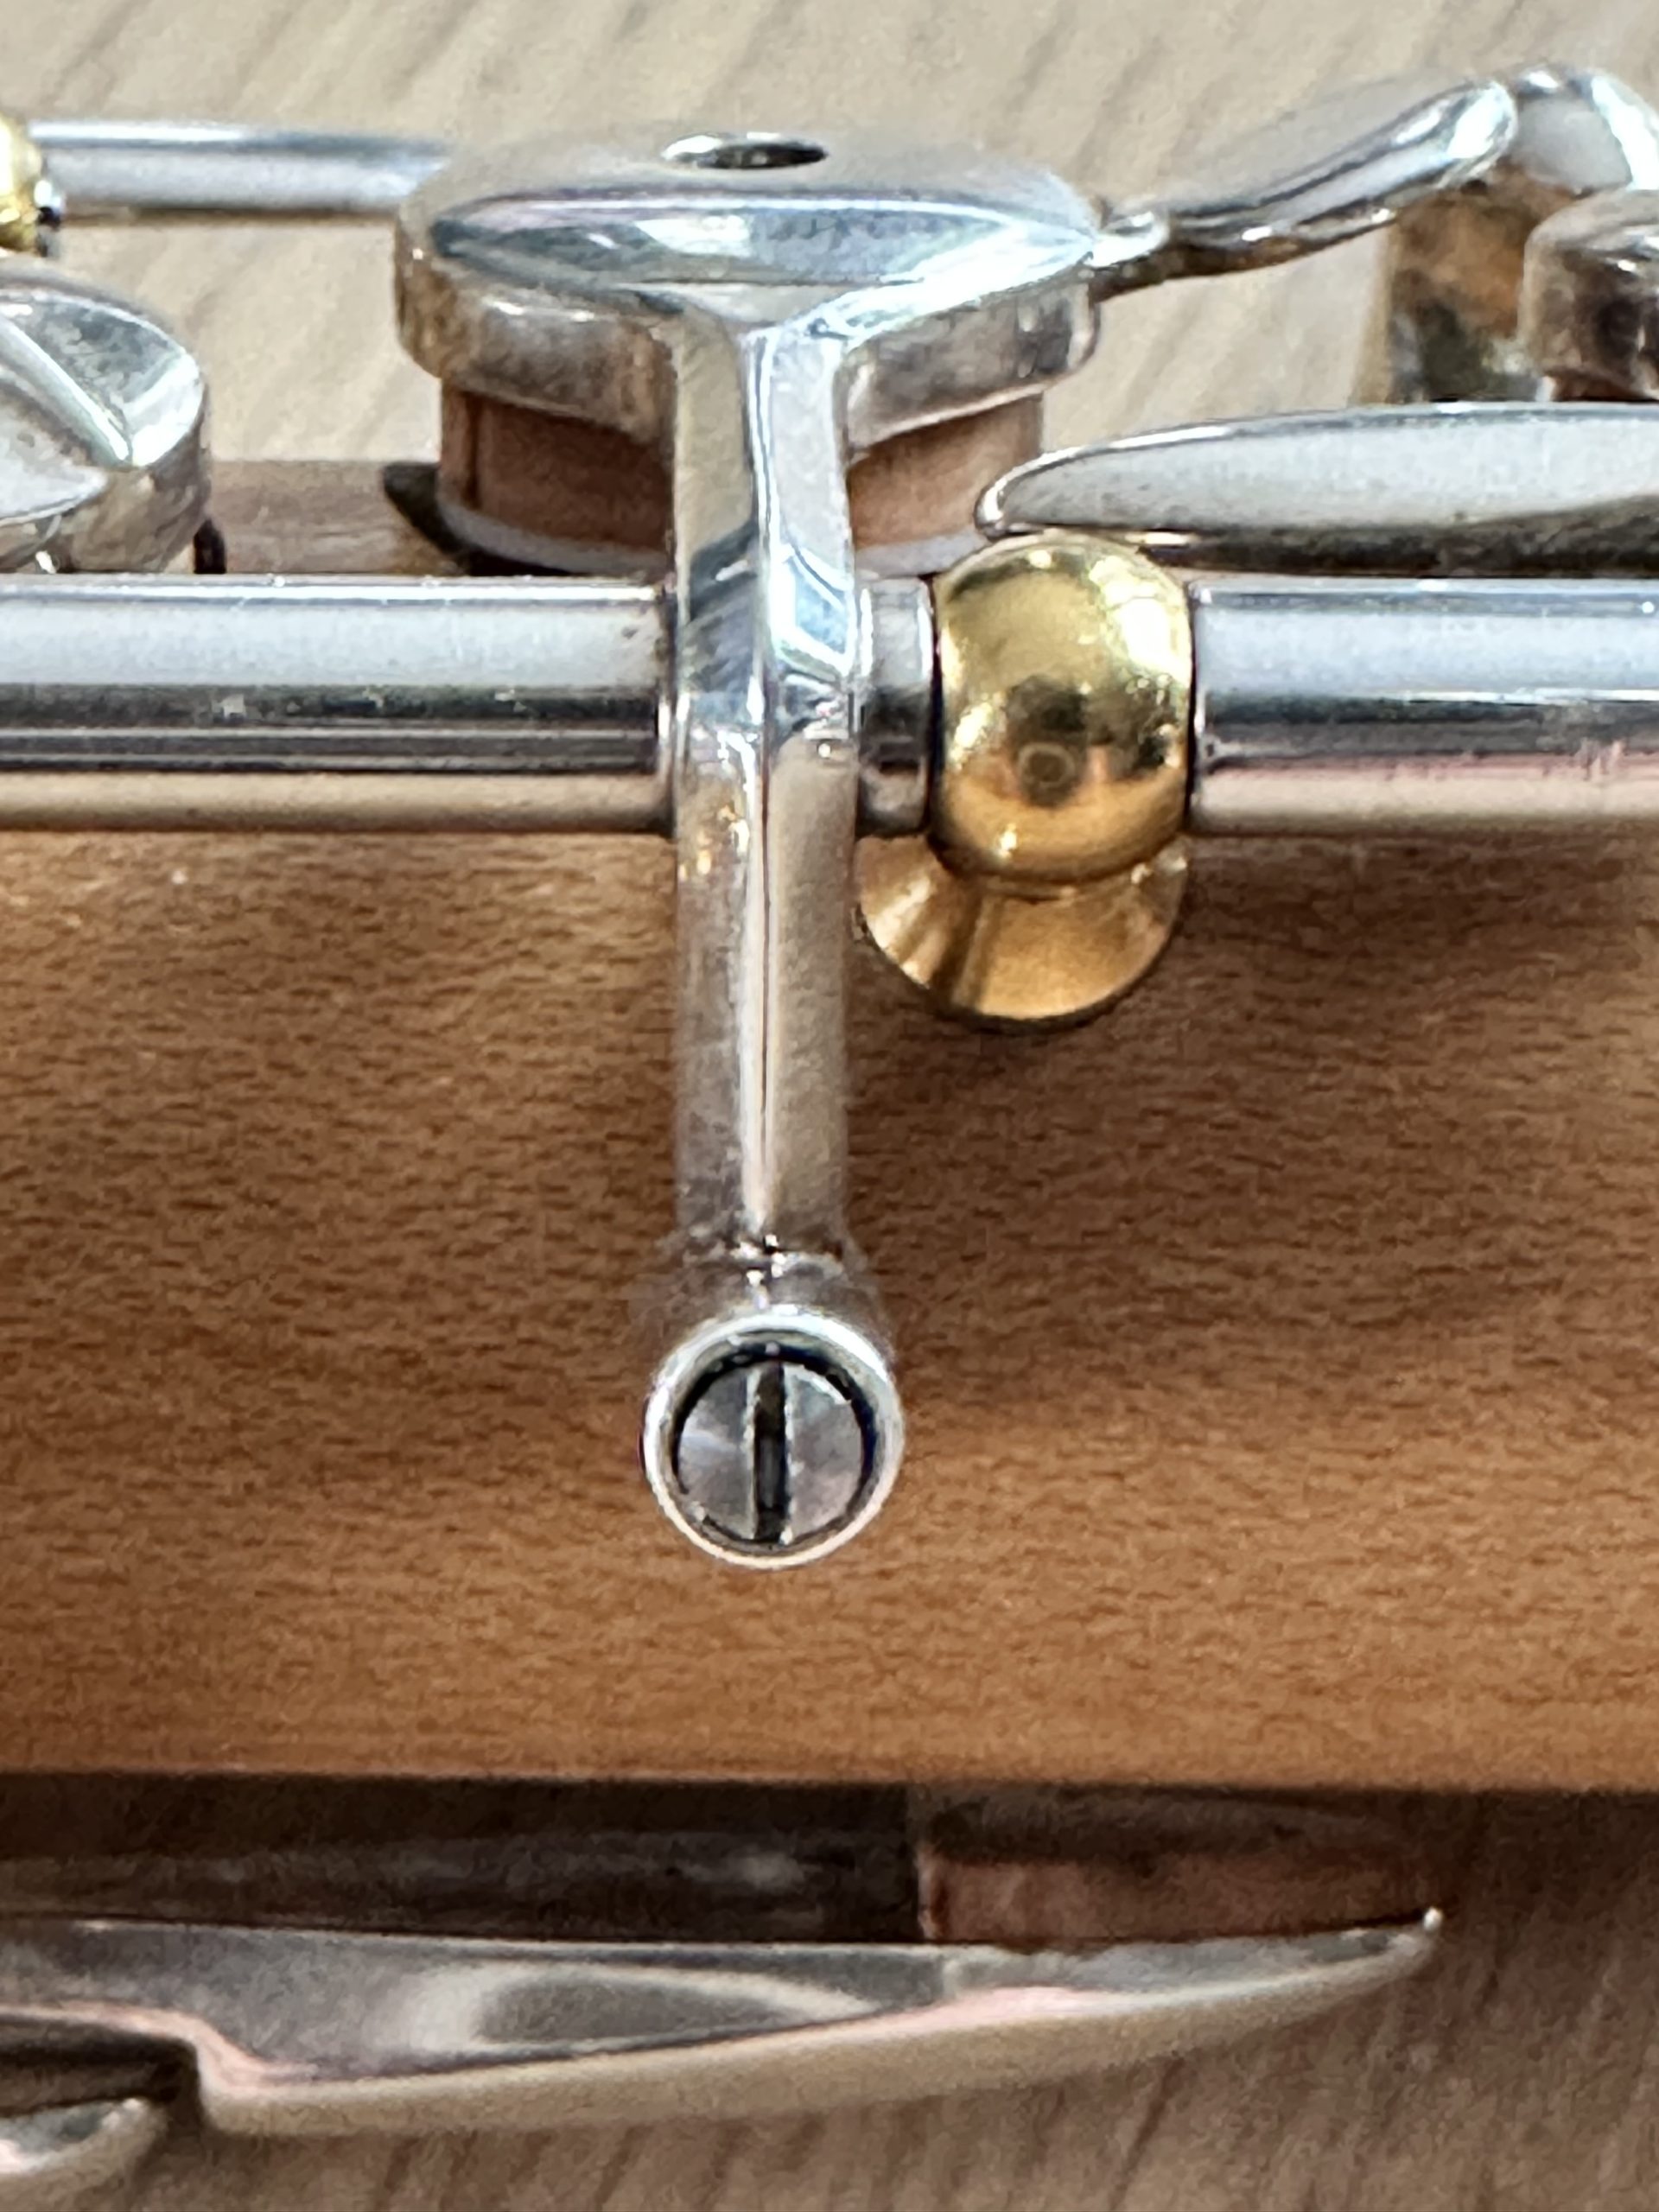 + 2 min
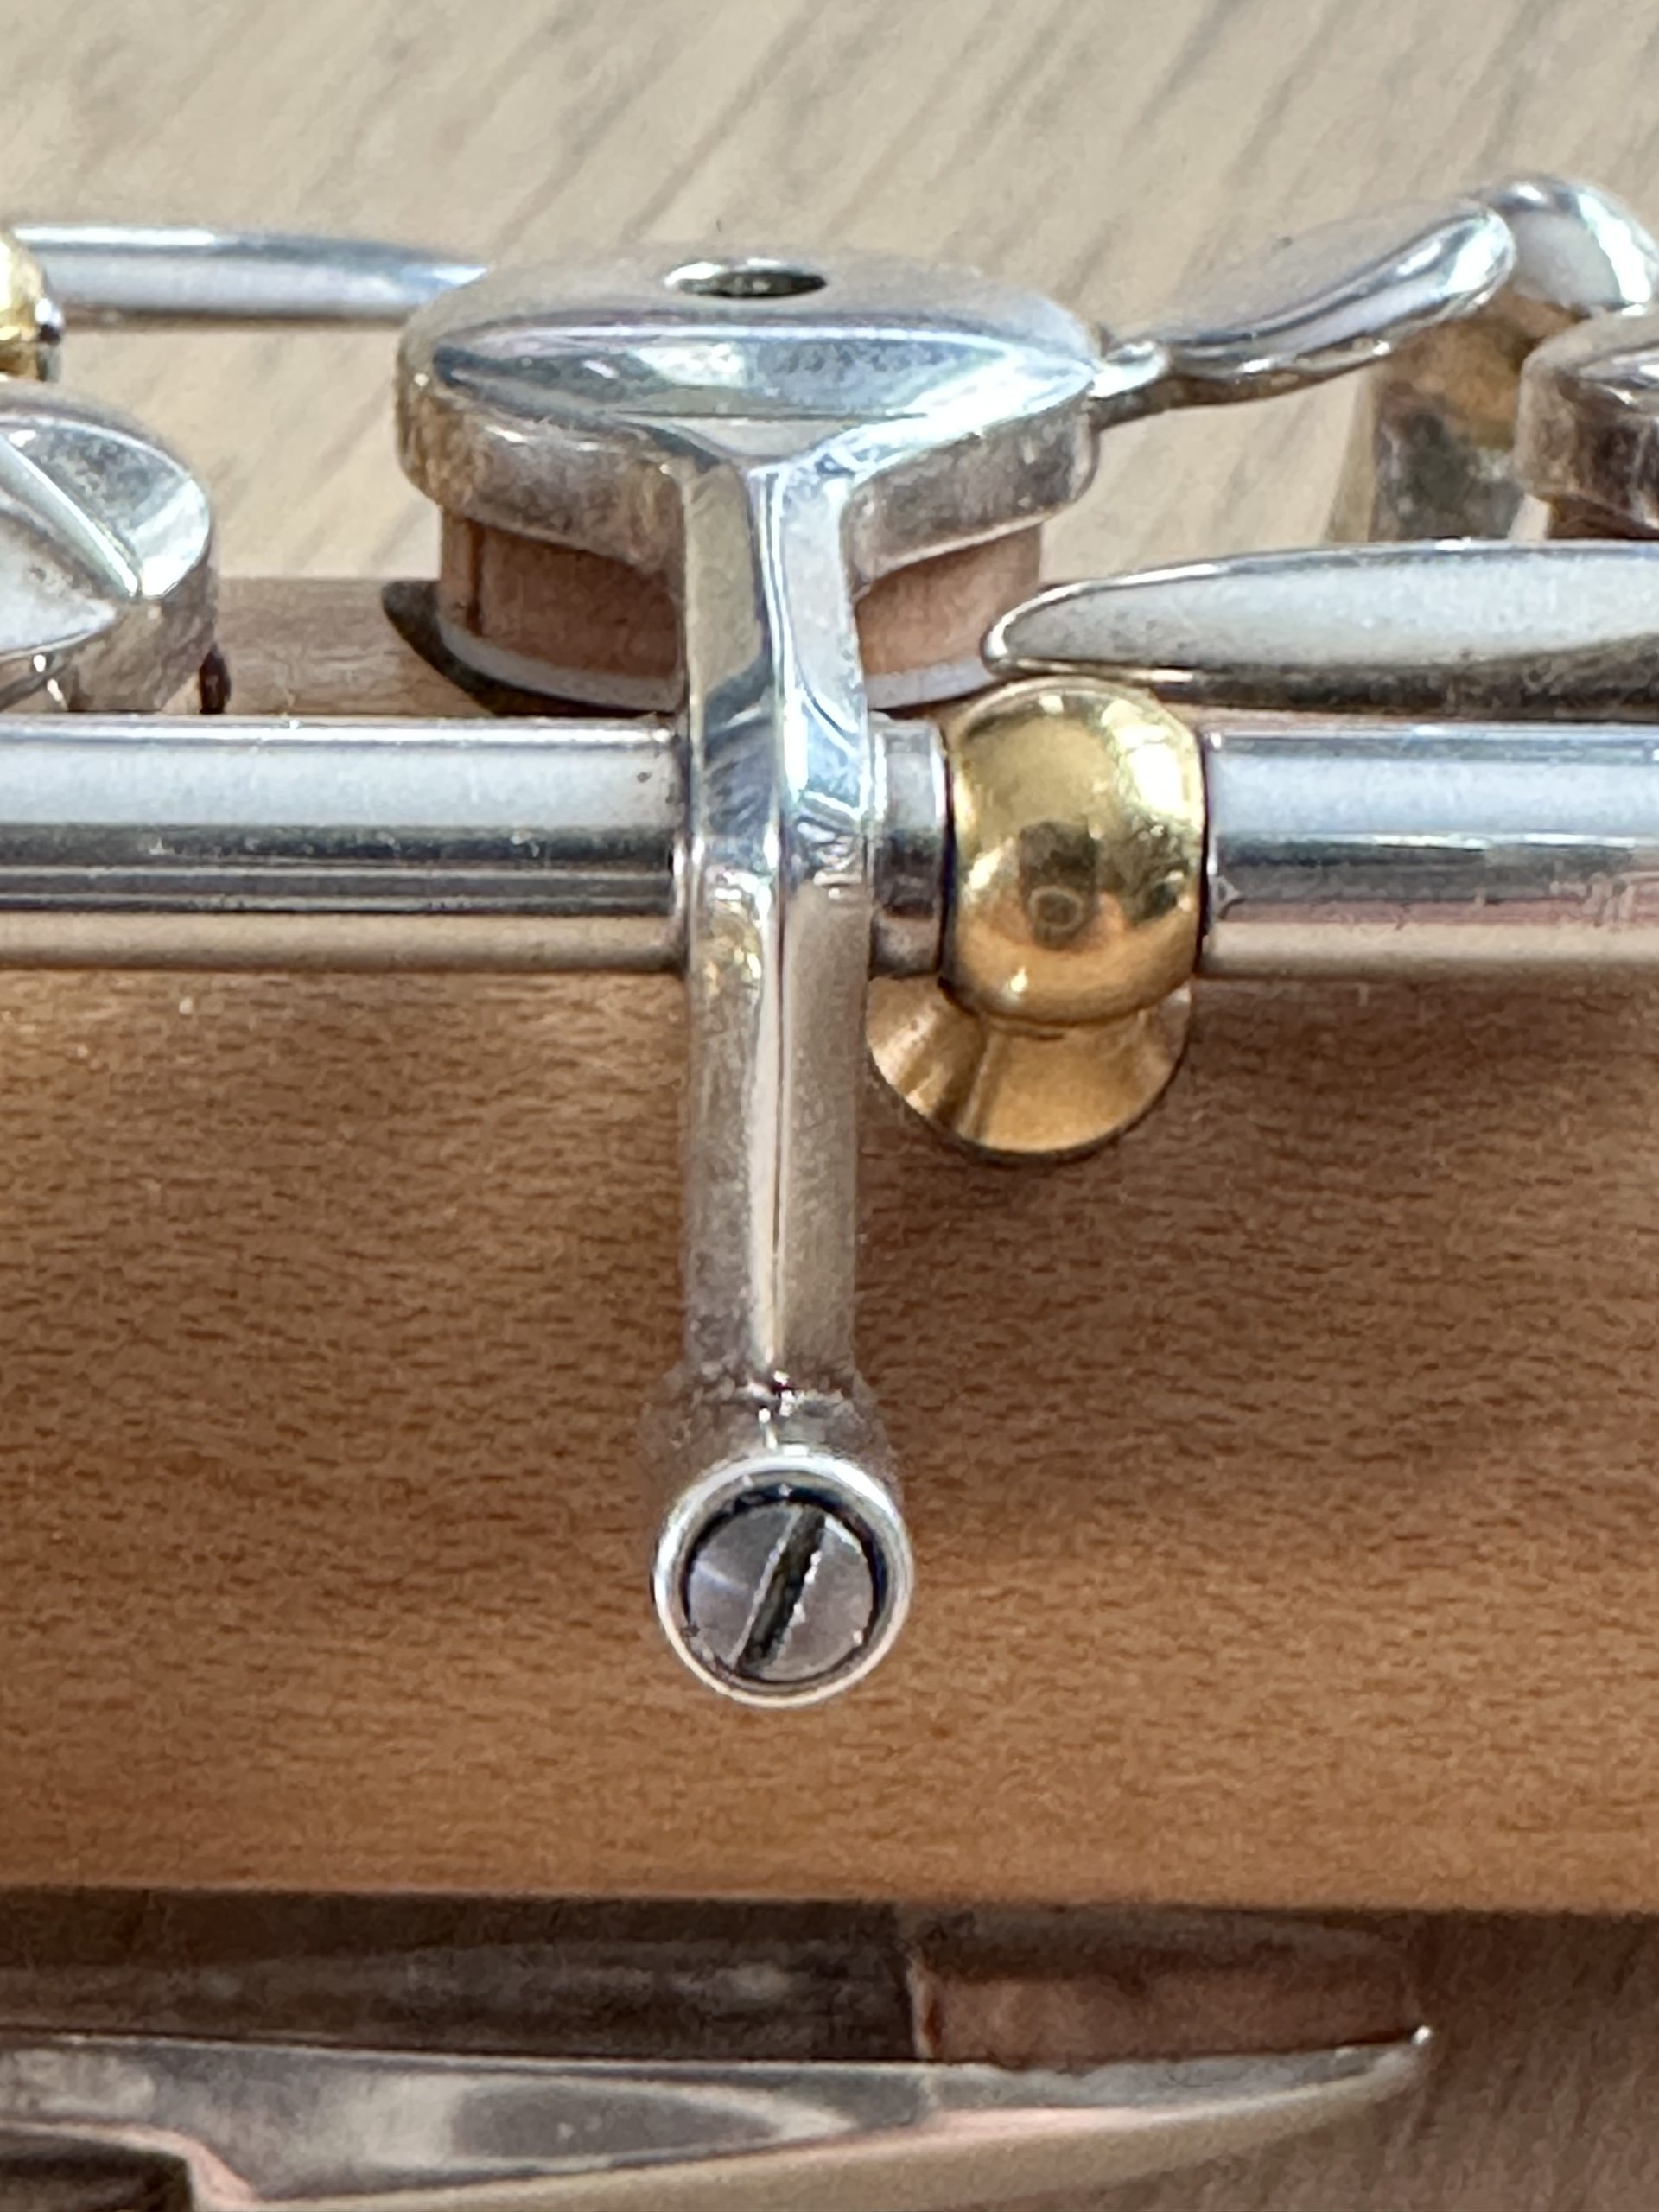 + 13 min
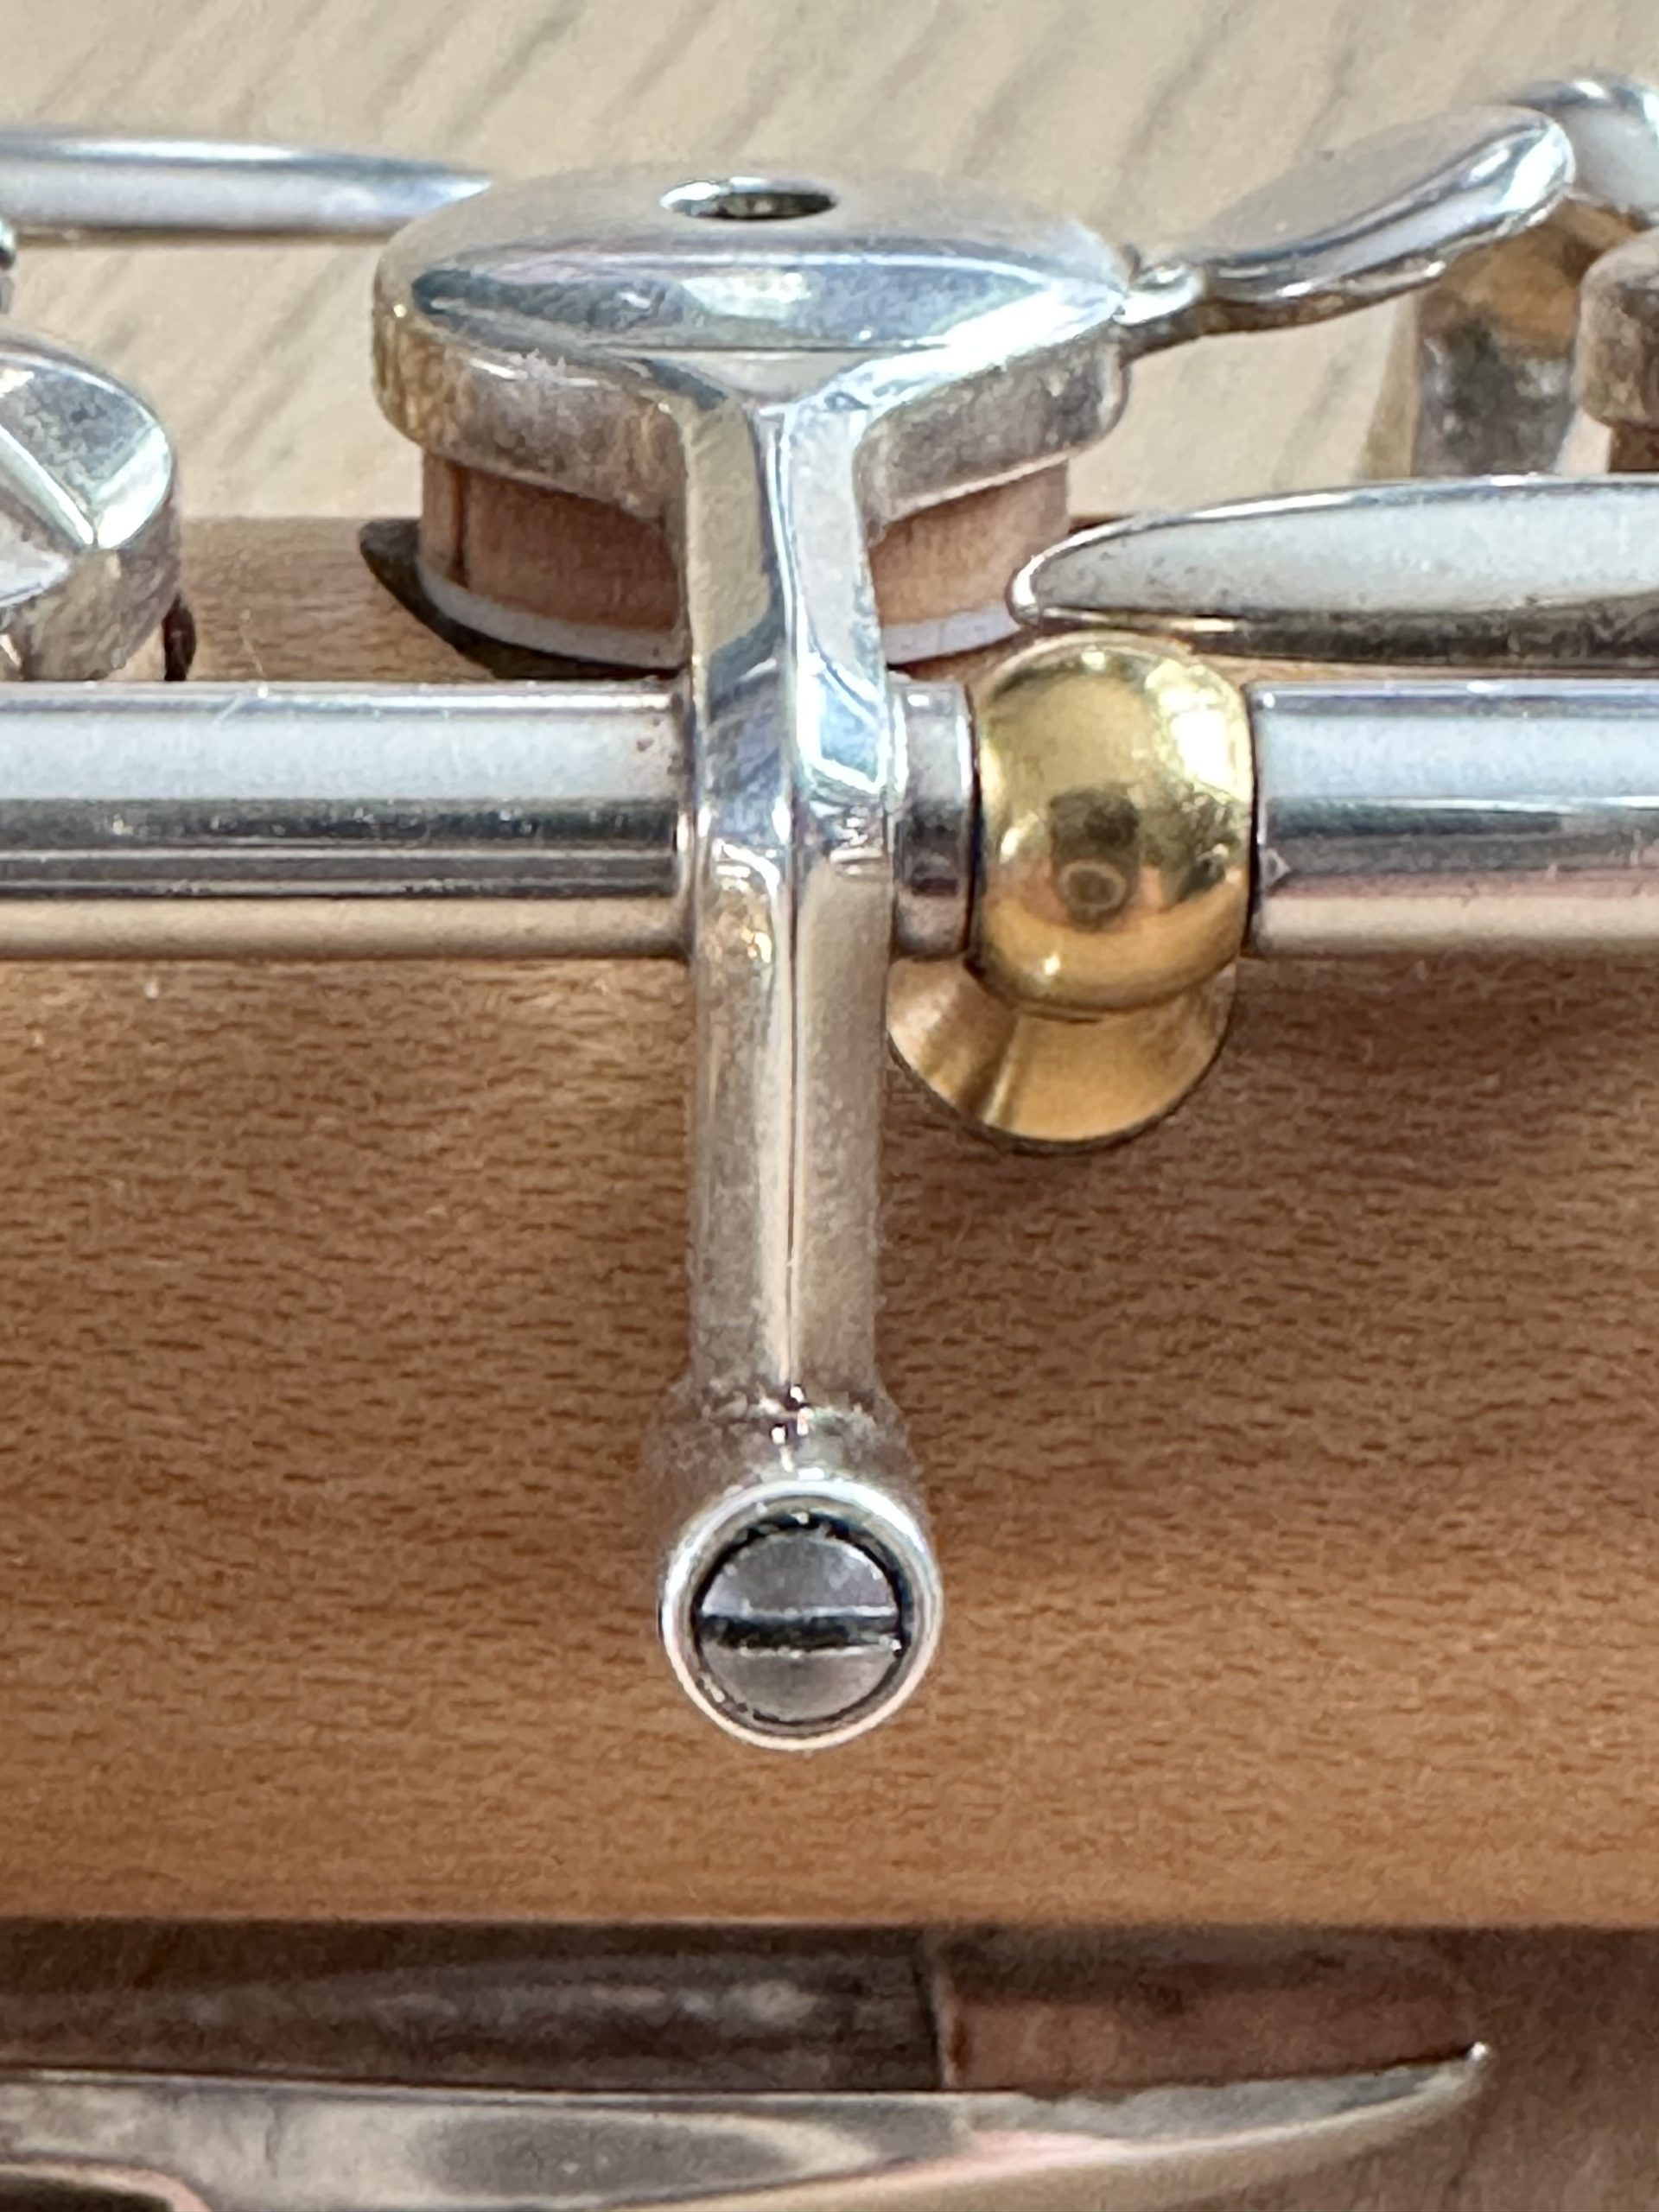
3. Inspection and Maintenance Protocols
- 8. Methods for Checking Tightness.
The result of an adjustment must be validated by two complementary tests:
Method Operating Protocol Application
Cold Test Mechanical adhesion test using cigarette paper under the pad. Entire body.
Hot Test Test under playing conditions by applying direct manual pressure to the pads or the fingers of the left hand with those of the right hand. Upper body: Can be tested independently (right hand).
Lower body: Requires the assistance of a second person to test adhesion while playing.
- 9. Fault Diagnosis Protocol (Troubleshooting)
When faced with a malfunction, diagnose the problem by following this logical sequence:
- Determining the critical zone: Up to which note does the instrument respond correctly? The more notes affected by the malfunction, the higher up on the instrument the leak is located.
- Cause of the malfunction: Is it a simple adjustment issue or a structural problem?
- (Drop, twisted key/stem, corroded pin, small crack, misaligned or broken spring).
- 10. Maintenance of the Octave Chests.
You must be proficient in disassembling, cleaning, and reassembling both octave chests, and do so as soon as water interferes with playing.
- Caution: Do not confuse the two boxes; the two chimneys on the rims are different (the second is generally larger, but not always).
- Safety: Use only the appropriate tools to avoid scratching the rims or damaging the wood when unscrewing.
The Practical Guide to the Student Maintenance Kit
- Emergency Tools for Adjustment
ToolsTechnical Specifications Daily Use
Watchmaker’s screwdriver, size 1.2 mm or 1.5 mm, straight (flat) slot, rotating head. Adjust the octave keys (right/left hand) without damaging the screw heads
Mylar or cigarette paper—ultra-thin (10–20 microns), glue-free (e.g., Rizla Croix)—to dry water from under the octave keys and test the seals of the pads.
Mini hook: 1 or 1.5 mm micro-hook (available at a haberdashery store) Replace a needle spring that has popped out of its tab during assembly
4. Cleaning & Preservation Supplies
Silk swabs (double-stranded)
- Why two swabs? Use a thin swab exclusively for the upper body (very narrow) . If it has a weight on only one end, be very careful or purchase another one with a string at each end.
- and a wider one for the lower body and the bell.
- Absolute safety: The double string with a counterweight allows you to remove the swab from the bottom if it gets stuck inside the narrow bore.
Natural goose or turkey feather
- Ideal for gently cleaning the upper body.
Non-sticky powder paper (Yamaha Powder Paper)
- Essential for correcting a key’s sluggishness.
5. “No Panic” Reflex Actions
Problem Observed Recommended Reflex Action
The G key on the left hand won’t come out Check to see if the spring on the G# key has popped out. Use your micro-hook to reinsert it into its notch. Also check the adjustment sequence for the entire left hand.
A low note “gurgles” or dies out A drop of water has likely lodged in a tone hole. Slide a piece of cigarette paper under the affected pad and press firmly to absorb the moisture.
The oboe is difficult to assemble Never force the keys. Apply a tiny amount of grease to the cork on the tenon and wipe off the excess.
A key is stuck Insert a piece of blotting paper under the pad, close the key gently, and remove the paper. Repeat as necessary.
© www.hautboisfute.ch – Oboe Maintenance & Adjustment
0 Comments